|
|
Post by Chris B on Apr 12, 2006 0:13:24 GMT -5
... in keeping with Tom Constantine's comments "it's not all old in here..." Inspired by the Britannia Naval College Chipmunks 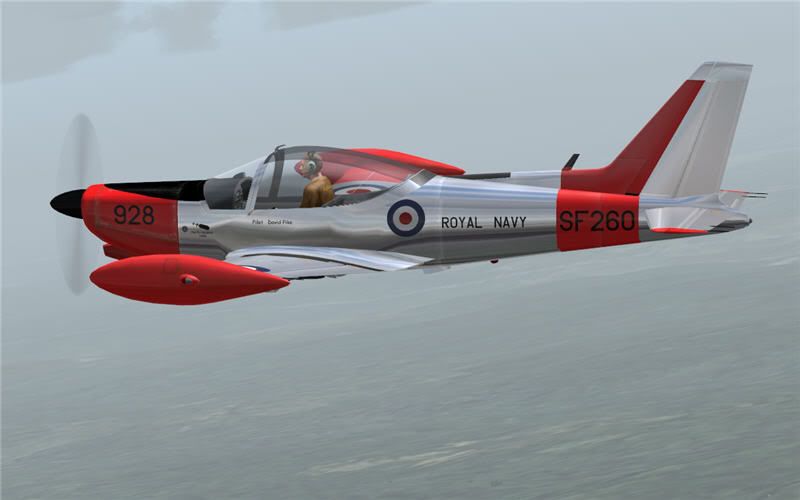 The colibri with a colibri - Nemeth EC120 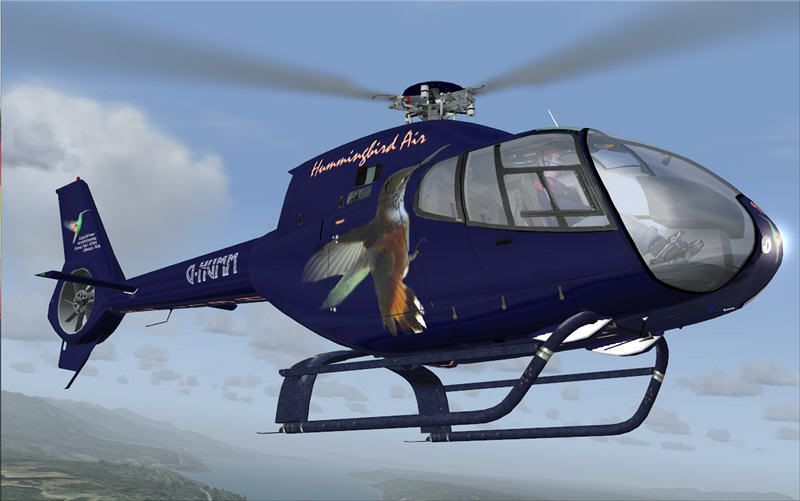 Eagleskinner's own chopper 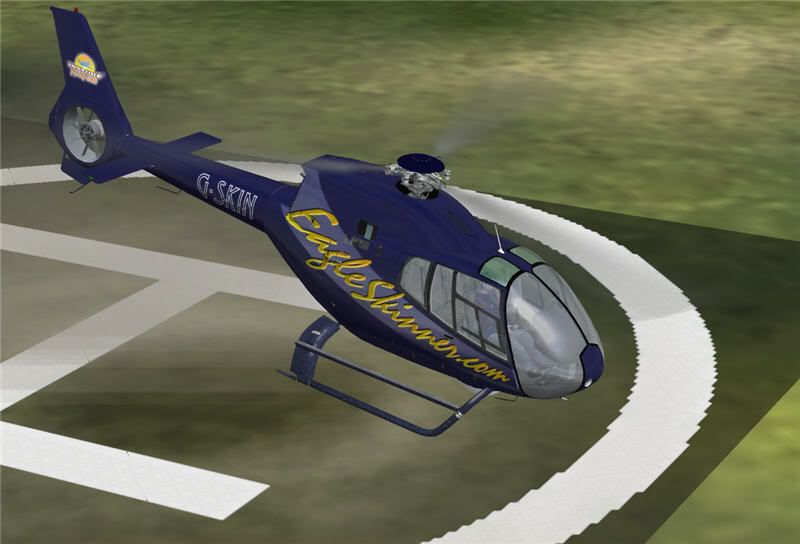 Another "Special Order" for Bill Dick this time - Carenado 206 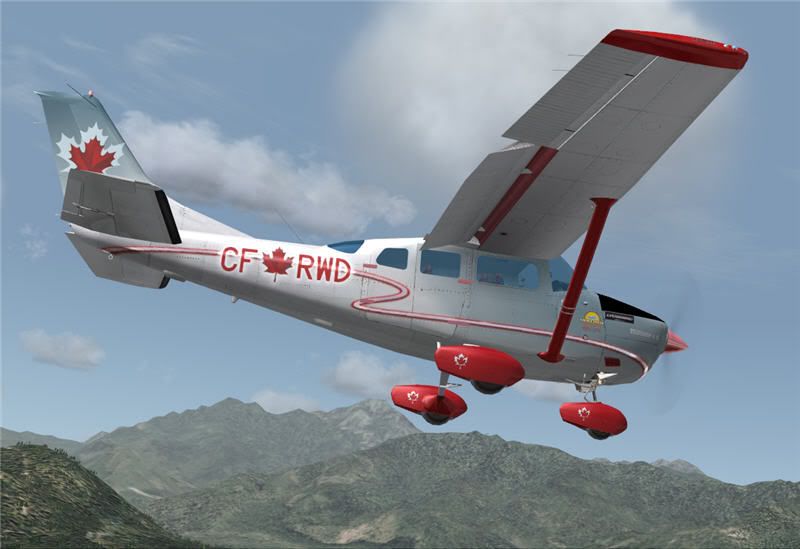 As I am shedding more skins than a snake, why not paint the obvious? 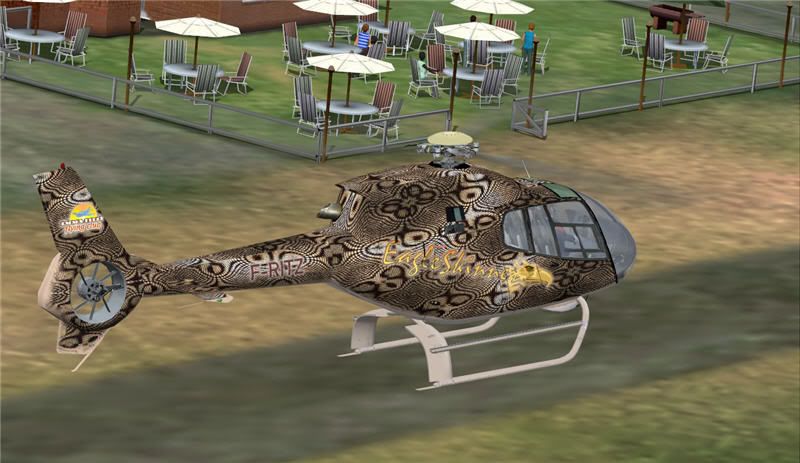 None of these skins are available on Avsim (yet) - a couple of these are private requests, so I am giving the "inspirers" some lead time... |
|
|
|
Post by Admin on Apr 12, 2006 21:02:02 GMT -5
That last one kinda hurts my eyes  |
|
|
|
Post by Keith on Apr 12, 2006 21:05:10 GMT -5
I agree  |
|
|
|
Post by scubakobe on Apr 12, 2006 21:48:58 GMT -5
Those repaints are very impressive. Main thing that I like about is how you can continue the "groove" down perfectly over an image such as your humming bird repaint. Once I put an image on to the texture, I (And by me, I mean by my experience lol) would either zoom in and use correctly sized brush and correct colors, to continue the groove down the image. Another way I would choose to do is use a cloning stamp, which isn't very effective sometimes. Could you please tell me how you do that? I would really appreciate it! Thanks  |
|
|
|
Post by Chris B on Apr 12, 2006 22:57:39 GMT -5
Not as difficult as you think, Scubakobe... First, make a grid of lines with 10 pixel separation - a black line every 10 px, a blue every 50 and a rede every 100... Then move the grid over a part of the skin and line one of the red crossovers to a reference point on the skin. Using a mask make from the airframe bit, clone a new object from the grid and leave it over the fuselage bit Do the same for the opposite half using the same reference. Do the same for all the bits... In Multi-skinned texture sets it also helps to make a transparent rainbow pattern over the whole texture - on one, the lines will be horizontal, on another they#re vertical, on the next - diagonal Create a dummy aircraft texture and go flying. Take screenies. Print them or have them open on a second monitor... 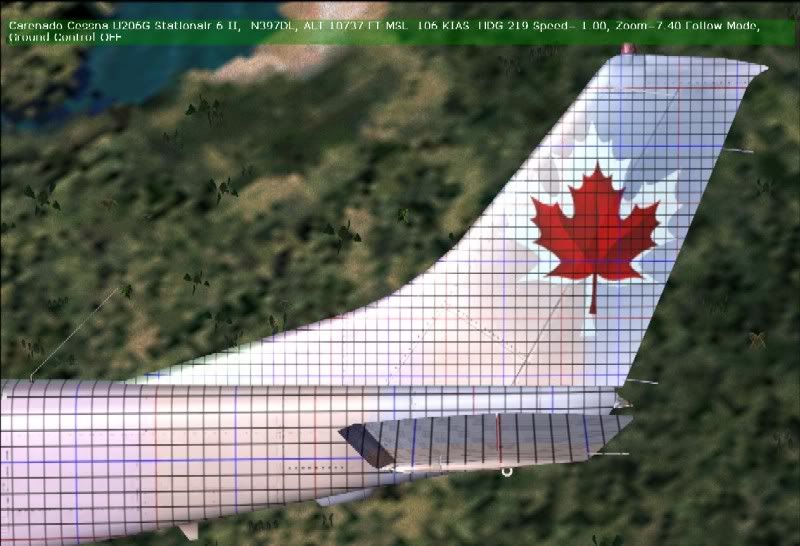 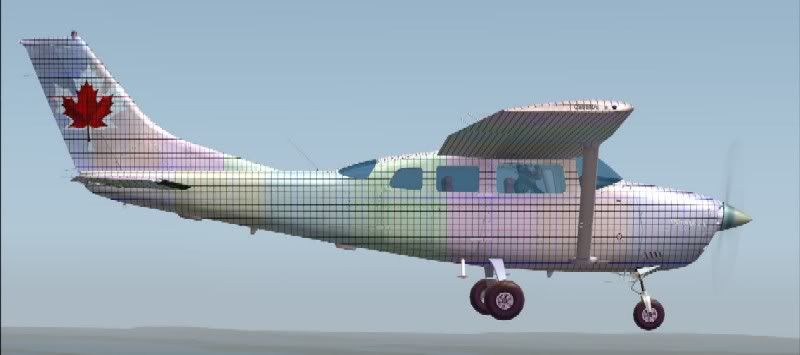 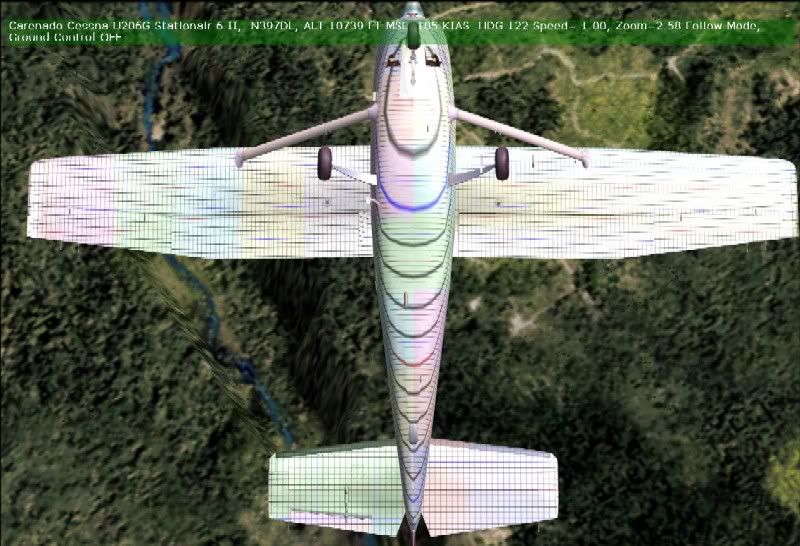 |
|
|
|
Post by Chris B on Apr 12, 2006 23:01:09 GMT -5
PS - sorry about the quality of the last one - the "masters" are at full screen res and uncompressed. The advantage of a fixed 10 x 10 grid should be obvious - some skin bits are different scales - the roof of the Carenado 206 is a perfect example - any text/image that runs across the whole wing has to be cut at each wing root and the middle bit "stretched"
|
|
|
|
Post by Chris B on Apr 12, 2006 23:02:17 GMT -5
PPS I didn't bother with the EC120 "snakeskin"
|
|
|
|
Post by scubakobe on Apr 13, 2006 10:01:16 GMT -5
Thank's SO much for that information chris, it will help me out a lot. I am going to start using that technique on the rest of my repaints. If what you explained to me told me how to make that groove continue down over the image, then I think I missed that part, but from what I understood I can use this for aligning images and text on a repaint and yes that will be very helpful too! The "groove" thing I was talking about is like in the screenshot below:  I want to continue the inset part of the door (What I call the "groove") all the way down over the stripes I have painted on the fuselage. I was using the pencil tool and using correct colors to continue it down over the stripes, but I have VERY shakey hands  It's very noticeable on your Hummingbird repaint that you have done what I want to do, but it looks soooo good that you must have done it another way. Thanks for the info! |
|
|
|
Post by Chris B on Apr 13, 2006 12:58:24 GMT -5
OH! you mean panel lines and other such gaps... gotcha! If the paint kit doesn't come with layers (in which case you just move the one with the "grooves" above the painted bit), then you have to make your own layers. For the panel lines and rivets etc. the first move is to make a cope of the airframe bit - you're familiar with masking of course? Now hide the rest of the image so that the only visible part is the new section. OK, now you have a copy of the airframe section, play around with contrast and brightness until only the lines are visible. BTW I would make the background colour something really different to all the fuselage bits - pale yellow or yucky green. By trial and error, you'll end up with only the door frame lines / panel lines visible. now un-hide the rest of the bits and hide the yucky background. Move the newly created and adapted layer above your trim paint. If the lines are too "hard" you can edit in PS or Corel by using a sharpen or soften mask. Or duplicate the lines, lighten the colour and offset by a pixel. In your case, you have a darker area (lower grey) and a lighter area (white) - simply mask out the two separate areas as two separate new items - each one has different contrast values, so it's easier to work with separat halves. The Neth EC 120 comes with layered PSD files so it was easier...  The Carenado 206 paintkit, otoh, is sheer hell!  There's one model in my files that I have started building individual rivets... sigh! I can't wait for skins to be doable using scaleable PNG graphics - we'll end up with round rivets in real close up views. Lastly - if you're not able to creat layers in your paint tool, then it's the hard way, I'm sorry... |
|
|
|
Post by scubakobe on Apr 13, 2006 17:51:37 GMT -5
I have used it once or twice a long time ago and I don't remember how to do it anymore. I will look up a tutorial about masking then come back to what you told me to do. I will do my best to comprehend what you have told me  One last thing, The new section is the main fuselage area that I am working on correct? Thanks for this help, I am VERY grateful! ( I think I can figure out how to do it with the photoshop help file) |
|
|
|
Post by Chris B on Apr 13, 2006 17:56:31 GMT -5
Oh, by the time you've done fifty repaints, rejected half and posted the rest on avsim, you'll be a beginner like me - still messing around each time you start a new skin...
... I am always learning something new with each skin I do. Only way to live...
|
|
|
|
Post by scubakobe on Apr 13, 2006 18:05:41 GMT -5
Ok, I admit, I'm lost. Hmmm. I am trying to get better understanding of the steps, and figure out what layers to create and what layers to mask. 1)First thing I did was select square area around the door I want to fix up (the panel lines) and then I right clicked it and made it a layer. 2) After I did that, I was pretty much lost what to do. I experimented a bit and came to the conclusion that I must select the whole fuselage as a layer first, then select the door as a layer, then mask the fuselage layer. Could you help clarify some of these steps please?
What I have tried so far: |
|
|
|
Post by Chris B on Apr 13, 2006 18:27:39 GMT -5
I was just off to bed, but I'll try... I use Corel Photopaint (German), so you'll have to guess the Photoshop equivalents... As you have PS, things are more doable, but there is a learning curve involved. There should be a "magic wand" masking tool. Use this to select just the "crack" colours on the base texture and make these into separate layers. You can make the wand selective so that you also pick up similar shades and you can select the wand to use "Anti Alias" mode - that helps smooth the lines. If you create a mask from the door layer and leave the mask active while you select the fuselage layer, you can "cut" another door from there... There's a useful forum for specialist PS help at www.simmerspaintshop.com/forums/ They have some very detailed PS tutorial help there. I am still learning, I must admit, but I am getting there. Some of my "master" files even have several hundred layers - I know that users don't see the detail in the end, but knowing it's there is half the satisfaction. If you want an easy plane to start practicing on, try the Long Island Classics Christen Eagle - it has a layered paint kit and you can get a lot of ideas from the way they did it. It's free on Avsim. Good luck, have fun and good night all. |
|
|
|
Post by scubakobe on Apr 13, 2006 19:12:14 GMT -5
Ooh! I understand it now, whew, easier than I thought it was.
Hey, even though you are still learning, I have to say that those repaints look extraordinary!
Thanks for the help and tips you have given me, I appreciate it alot.
And about that forum, I will go register there for further help on any more questions that I may have.
Thanks Again!
(PS: Could you send me the grid you use for repaints in a PNG file please? I have tried to make one but it's not very perfected, lines are straight and all but I don't think they are 10 px apart and so on.)
|
|
|
|
Post by scubakobe on Apr 14, 2006 1:16:38 GMT -5
Well I have tried my hand with panel lines and stuff. I did try your way, but while trying to figure out how to do certain things (Like masking) in your way, I figured out how to do it my own unique way. I would use custom shapes tool and make a line for the panel lines. Then, for rivets I would get brush tool on a certain size, and brush a round spot, then get the pencil tool and put a darker dot in the middle of that brushed round area. Works pretty good for me, check out what I have done so far (The blue paint texture is original, the one that has orange is the one I made)  *The exhaust burn trail was too bad looking to save by making it a layer with magic wand, and I couldn't replicate it with a brush tool or anything so I just left it off  * |
|