Post by Chris B on Nov 5, 2006 13:28:23 GMT -5
Thanks you Chris! I am sure this will help many repainters here to create some good rivets. Time to experiment with layers again!
--------------------------------------------------------------------------------------
Windrunner asked if I could do a tutorial on rivetting.
PART 1 - GENERAL BACKGROUND
Lord knows why, it isn't difficult - well, except for placing several thousand rivets on your plane ;D
I use Corel Photoshop / Draw, but the same functions exist in Photoshop, so anything I put here is "translatable" - you'll just have to do a quick search of the various menus.
The other problem i have is that I use a German language version of Corel, so i may not have the right words in English - perhaps someone can come to the rescue here and give us a clue.
First: what types of rivets are there?
Basically (I'll not go into Avdel, bifurcated (Tucker pop) or others) - just the shapes:
1. Countersunk
2. Dome head
3. Half round.
The latter two differ only slightly - the dome headed rivet heads do not stand so proud above the aircraft skin. The countersunk is flush with the aircraft surfact.
When a plane is new, countersunk rivets are as good as invisible under the paint, so there's nothing to do on a countersunk rivet skin - unless it is an older plane.
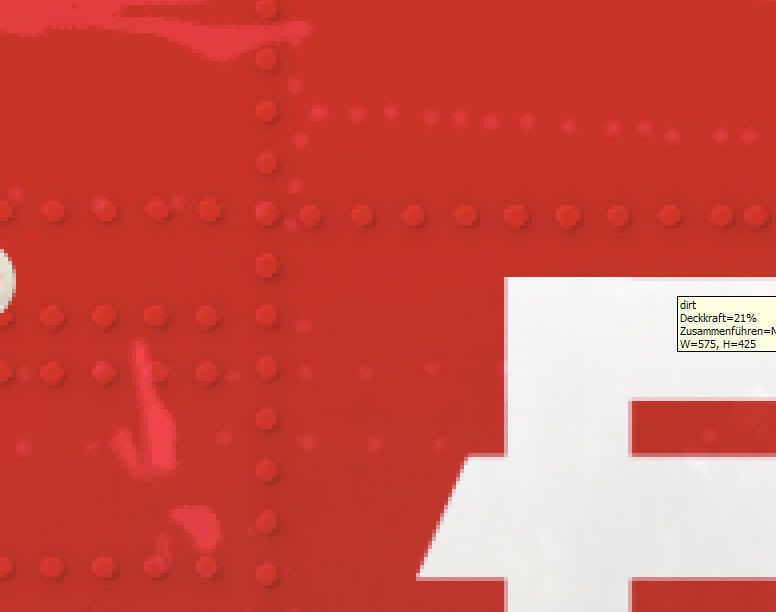
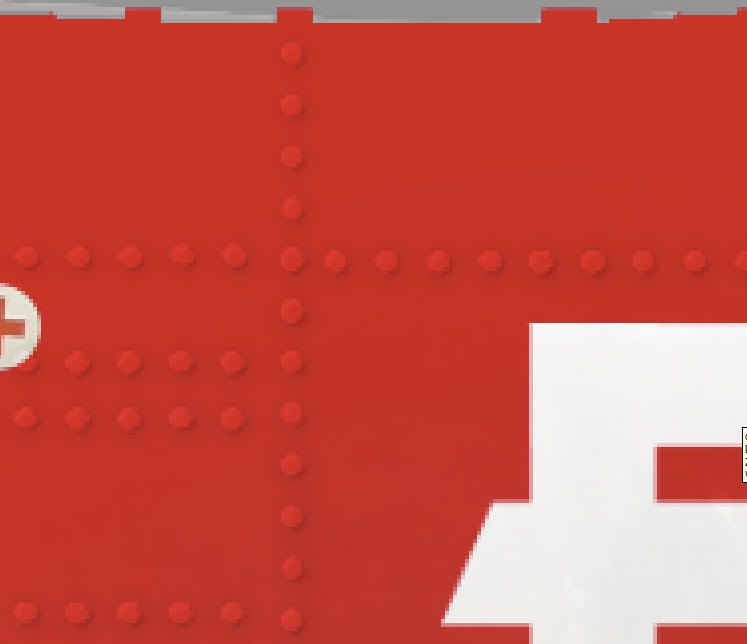
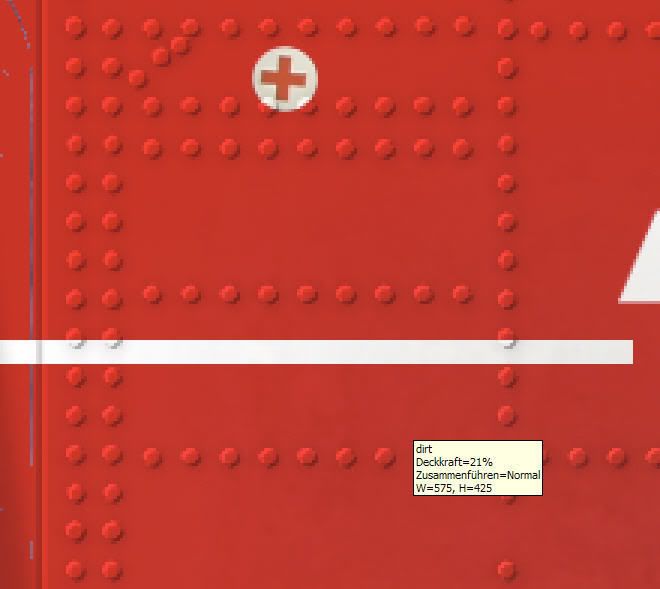
What happens (and this is for all rivets) then, is that as the plane flexes during use, the rivets work and the paint is cracked off around the circumerence of the head. The first thing is you get a dark circle around the edge of the rivet.
All raised head rivets also have a lighting factor to consider as well.
We can't create rivets (yet) which have highlights and cast shadows. Another thing we can't do well is to show the circle of dirt under older rivets.
Another thing that can happen, is that the fitter installing rivets can sometimes hold the dolly (reaction tool) at an angle and make a sharp crescent shaped dent in the skin (mind you, he'd fail his trade test if he did). We're not going to do that. Are we?
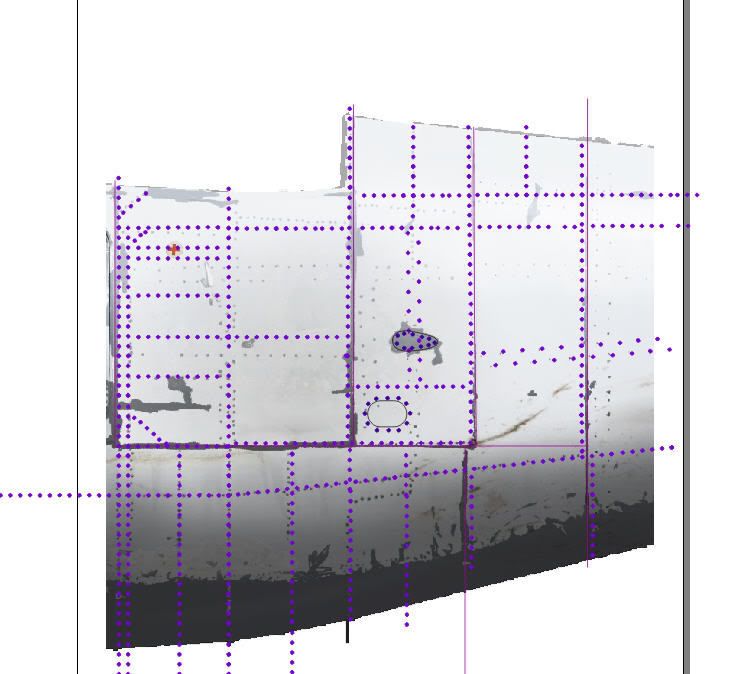
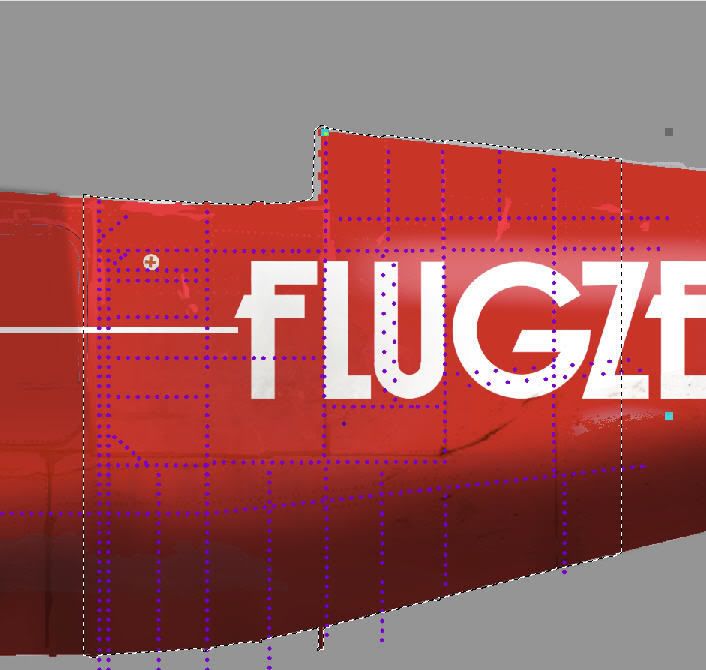
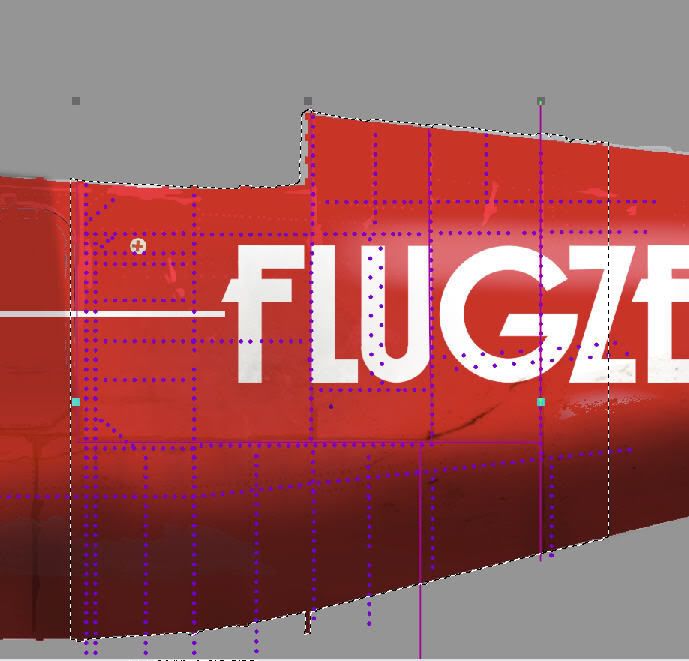
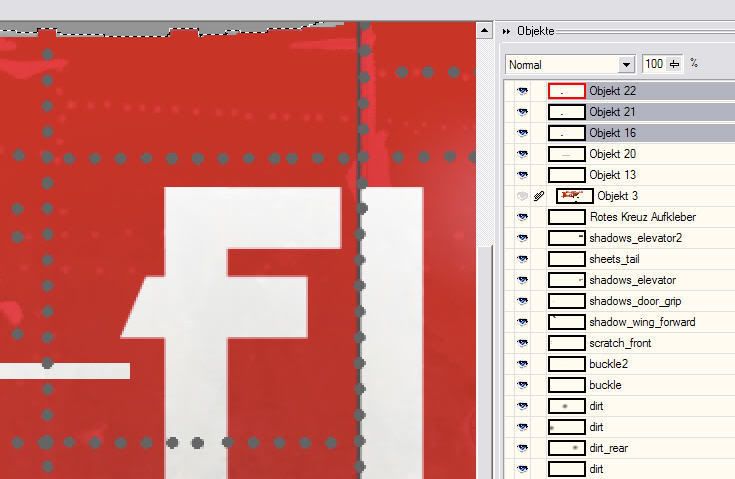
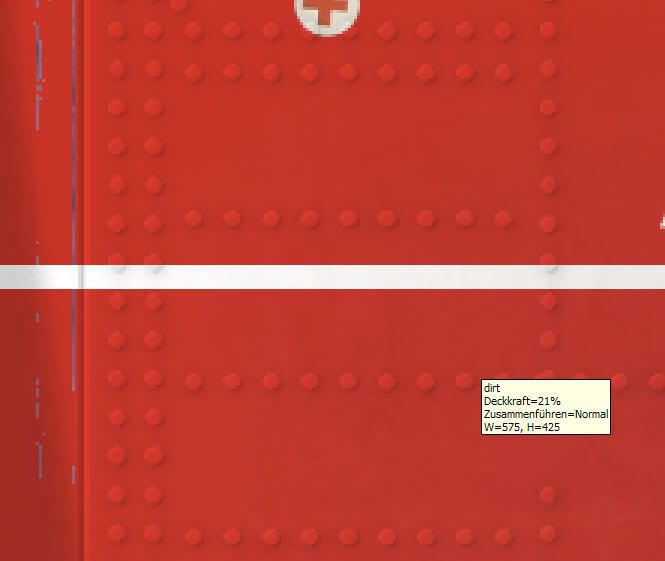
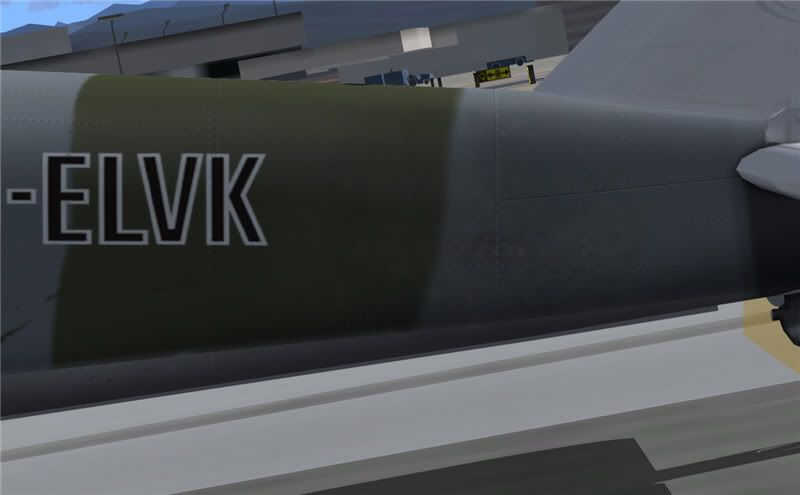
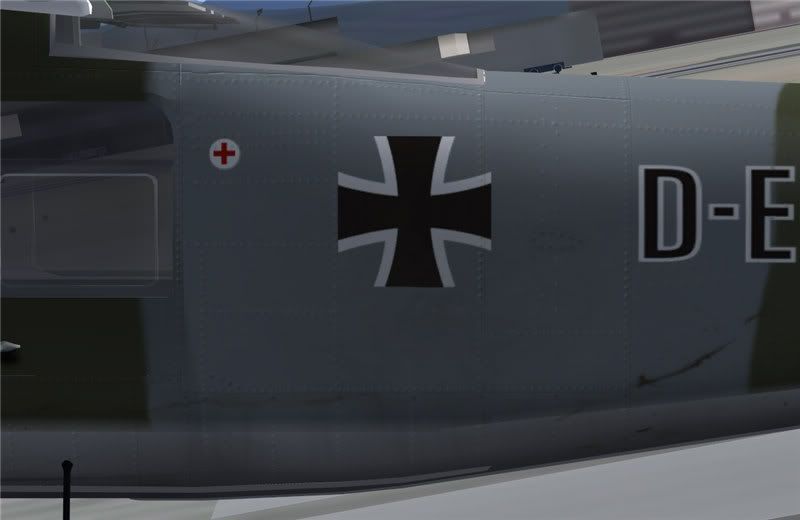
One final caveat. These tips are only aimed at textures that are big enough to allow half way decent rivet effects - and that, currently, means the Dornier DO27 from Digital Aviation. I you know of other texture kits that use three panels to cover a little over 9 metres, then let me know. The Dornier fuselage side has 2650 pixels length, so we can get down to some nitty gritty detail here.
--------------------------------------------------------------------------------------
Windrunner asked if I could do a tutorial on rivetting.
PART 1 - GENERAL BACKGROUND
Lord knows why, it isn't difficult - well, except for placing several thousand rivets on your plane ;D
I use Corel Photoshop / Draw, but the same functions exist in Photoshop, so anything I put here is "translatable" - you'll just have to do a quick search of the various menus.
The other problem i have is that I use a German language version of Corel, so i may not have the right words in English - perhaps someone can come to the rescue here and give us a clue.
First: what types of rivets are there?
Basically (I'll not go into Avdel, bifurcated (Tucker pop) or others) - just the shapes:
1. Countersunk
2. Dome head
3. Half round.
The latter two differ only slightly - the dome headed rivet heads do not stand so proud above the aircraft skin. The countersunk is flush with the aircraft surfact.
When a plane is new, countersunk rivets are as good as invisible under the paint, so there's nothing to do on a countersunk rivet skin - unless it is an older plane.
What happens (and this is for all rivets) then, is that as the plane flexes during use, the rivets work and the paint is cracked off around the circumerence of the head. The first thing is you get a dark circle around the edge of the rivet.
All raised head rivets also have a lighting factor to consider as well.
We can't create rivets (yet) which have highlights and cast shadows. Another thing we can't do well is to show the circle of dirt under older rivets.
Another thing that can happen, is that the fitter installing rivets can sometimes hold the dolly (reaction tool) at an angle and make a sharp crescent shaped dent in the skin (mind you, he'd fail his trade test if he did). We're not going to do that. Are we?

One final caveat. These tips are only aimed at textures that are big enough to allow half way decent rivet effects - and that, currently, means the Dornier DO27 from Digital Aviation. I you know of other texture kits that use three panels to cover a little over 9 metres, then let me know. The Dornier fuselage side has 2650 pixels length, so we can get down to some nitty gritty detail here.


