|
|
Post by Chris B on May 17, 2008 3:20:00 GMT -5
Bye bye Damian, thanks for being here all this time.
And to all other readers - I'm here, don't be shy. If you've got painting questions, ideas, suggestions... here's the place.
Anything I can help with, I will. And if I can't, then there are people with far greater skills than me around who also read here.
Anyone wondering what I am up to? Well at the moment I am building bumpmaps and speculars. I know the Golden Age planes are primarily FS9, but hey, all that old metal is ideal for FSX modelling. All those wrinkly skin panels, faded fabrics and stitching seams...
|
|
|
|
Post by windrunner on May 19, 2008 1:56:24 GMT -5
Thanks you Chris! Heritage is all yours now. Future is in your hands!
|
|
|
|
Post by Roger on May 19, 2008 2:12:02 GMT -5
All the best Damian and thanks for all your help and good works in the past.  Best regards, Roger. |
|
|
|
Post by lifejogger on May 19, 2008 8:08:26 GMT -5
And to all other readers - I'm here, don't be shy. If you've got painting questions, ideas, suggestions... here's the place. Anything I can help with, I will. And if I can't, then there are people with far greater skills than me around who also read here. Anyone wondering what I am up to? Well at the moment I am building bumpmaps and speculars. I know the Golden Age planes are primarily FS9, but hey, all that old metal is ideal for FSX modelling. All those wrinkly skin panels, faded fabrics and stitching seams... Hello Chris and since you asked...... How do you build bumpmaps and speculars? I thought those were created in the model. |
|
|
|
Post by Chris B on May 19, 2008 15:24:58 GMT -5
Hah! Serve me right...
There is some better info on both in the FSX Acceleration SDK (better than in the original SDK) but with typical Microsoft aplomb, totally unintelligible at first glance. You can browse the web and read tons of doctoral theses on the subject, or you can try and myke sense of my simplification.
Bumpmaps.
1. Make a normal 24 bit colour texture - but just showing the bits that you want to represent as bumps and dents.
Bumps = rivets, screw heads, external ribs and stringers (a La Ju 52...) and wing stitching.
2. Remember - 24 bit colour texture - RGB. But all you need is a plain grey base with the higher parts darker and
the deeper bits (panel lines etc.) lighter.
3. When you're done, merge / flatten all layers
4. Find your "effects tool" for height map - depending on your graphics program it could be "Relief" or "height"
5. Play with the options. You'll see things like pixel depth and light direction.Generally top right is fine for
light and 2 to 3 pixel offset for depth although for the panel lines, it is better to have bright white lines and
just one pixel offset (experimenting is called for in the long run)
6. in the height map options, you'll see colour choices - choose "to grey" and then press OK. You'll be given a
single layered image with a neutral grey base and a 3d effect on the height and depth bits.
Now go to the colour channels view as offered by your paint prog. In the colour channels view you can select individual colour channels. Play around to understand what you see.
7. Select the red channel and deselect green blue and all. Now convert the image to greyscale and save the red channel (which is now a plain grey image with light and dark lines on i). This is later to be used as the alpha channel - if you want to know why, you'll need to read the SDK - FSX saves space by forcing the red channel to be alpha.
8. now undo the last changes so that you are back to a three channel colour image.
9. Select the red channel and use the flood fill tool to fill the red channel with black colour.
10. Flood fill the blue channel with white.
11. Select "all channels" and save. You'll see the FSX typical blue texture image for the bumpmaps.
12. Apply the previously saved greyscale red channel as alpha. Save as dds.
Done
(There is an nVidia photoshop plugin to do all this for you - I can't use this in Corel Photopaint)
Speculars. (The easy way)
1. Take your normal surface texture image.
2. Go to the select HSB menu in your paint program
3. Using the "hue" slider "rotate" the colour "wheel" - you'll see why "wheel" when you move the slider - it can go to +- 180 degrees. The reason is that graphics artists actually do use a wheel to select opposite and complimentary colours. The simplest selection is to use opposites. i.e. 180°
4. Reduce saturation by 25%
5. Increase brightness 25%
6. Save
7. Make a greyscale copy of the image and save again as alpha channel
8. Put the two together and save as dds.
THAT, dear reader, is about as simple as I can put it. After that it's experiment
On the bump maps, you can experiment with height. You can make several bumpmaps and edit them together. Good if you want parts of the plane to appear a lot higher or deeper. You can spray onto the bumpmap for dent effects. You can apply grungemaps to the bump - either to single colour channels or the alpha (red). All these change the way the surface of the plane appear.
Take a look at the RAS Spitfire bumps - and compare them to the RAS SF260 bumps - chalk and chees.
On the speculars, you can try single colours for the whole texture sheet. White out non reflective bits (tyres and dirt). Add bright primary colours. Posterise or solarise the colour layer. Rotate the colour wheel to non-complementary or opposite - try odd values like 123°.
The spec alphas are different to the normal alphas or the bump offset alphas. Lighter parts of the spec alpha make for softer edged specular shine effects, Darker parts give sharper edge coloured reflections.
The main word for both is EXPERIMENT! We haven't begun to scratch the surface of what you can do with bump and shine. Depending on what the modeler set, when he converted his 3d model to an mdl file, he will have made the surface texture different - either metallic or plastic or even painted metal... Depending on what the modeller has done will affect how the paint appears in FSX.
Those wore the basics and will work.
The rest is almost rocket science and for the specs, you even need to go into the realms of colour and light. There's no real easy way, unless you are already in the job... You're going to have to get down and do things. A dozen or more different bump and spec skins on the same paint, and even then you're not seeing it all.
I'll see if I can dig out some images.
It isn't really hard, but the learning curve is steep.
|
|
|
|
Post by Chris B on May 19, 2008 15:42:47 GMT -5
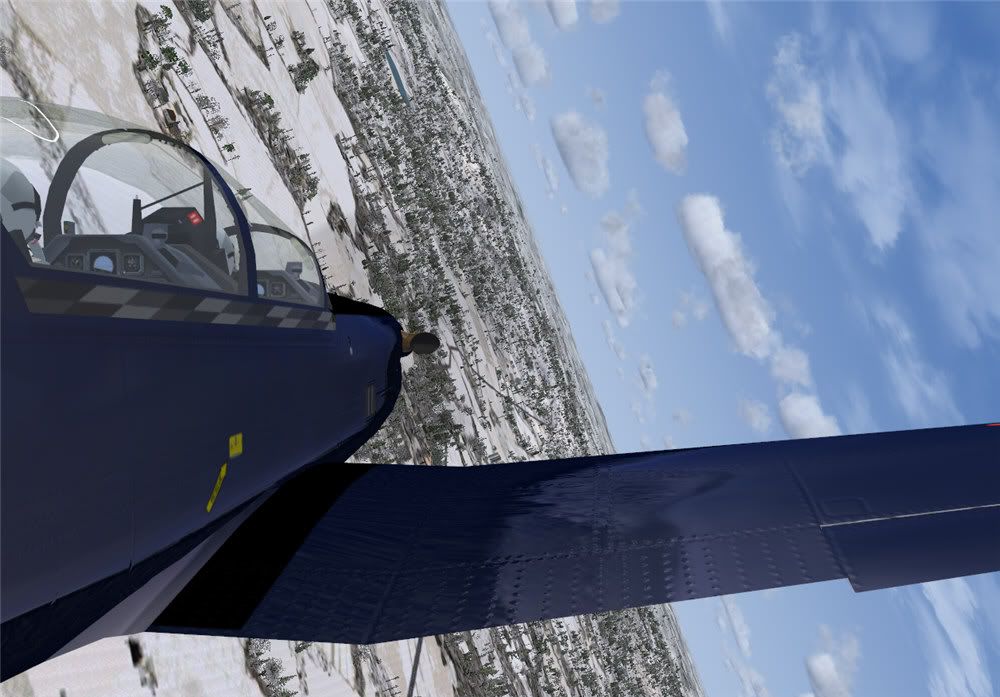
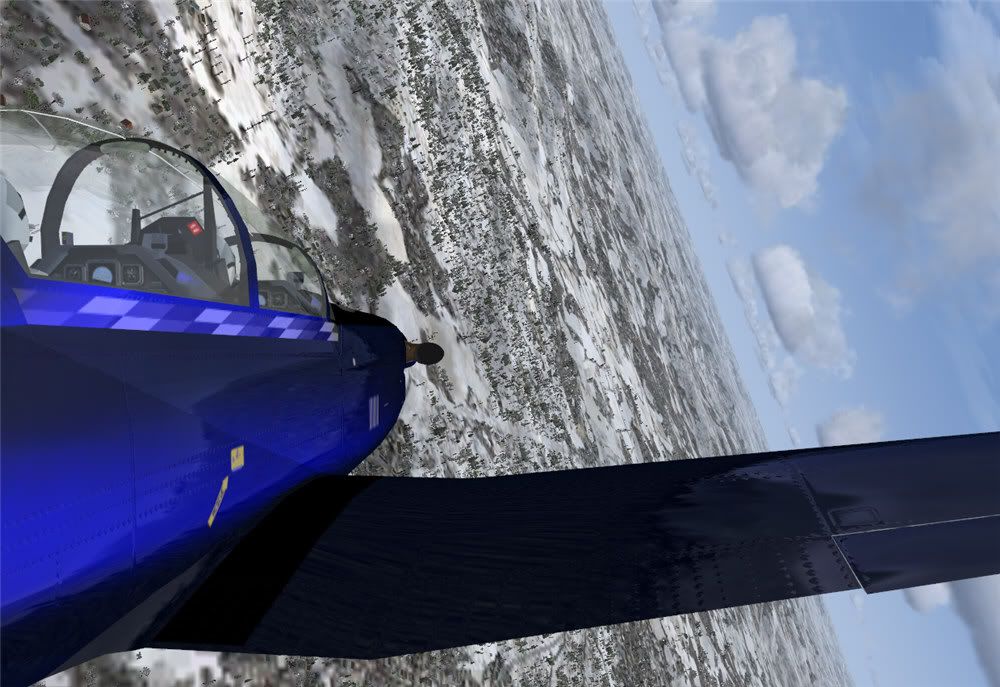
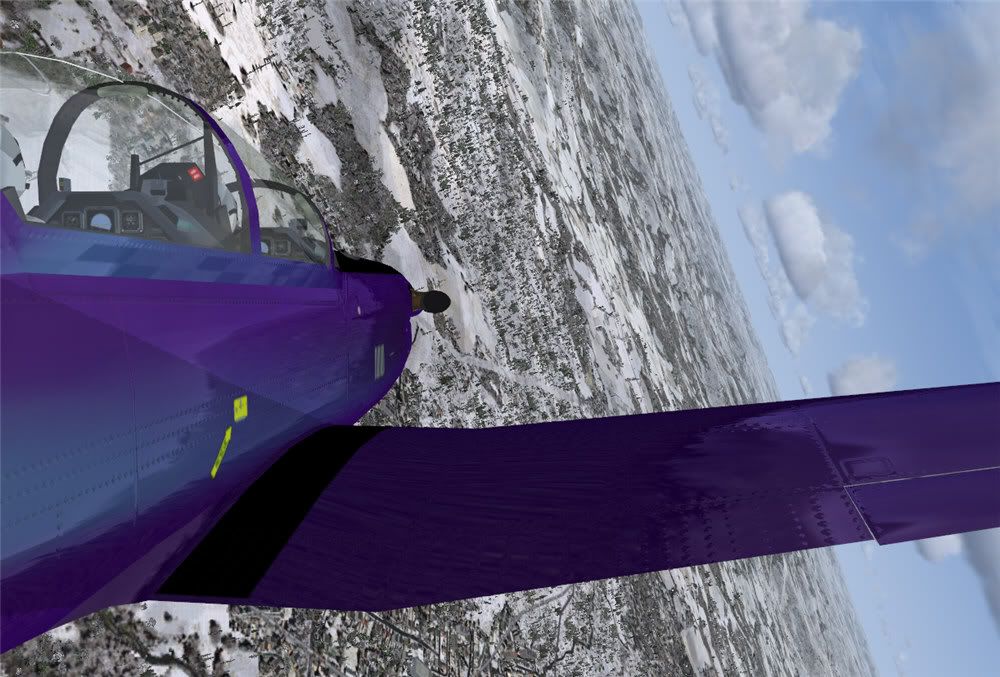
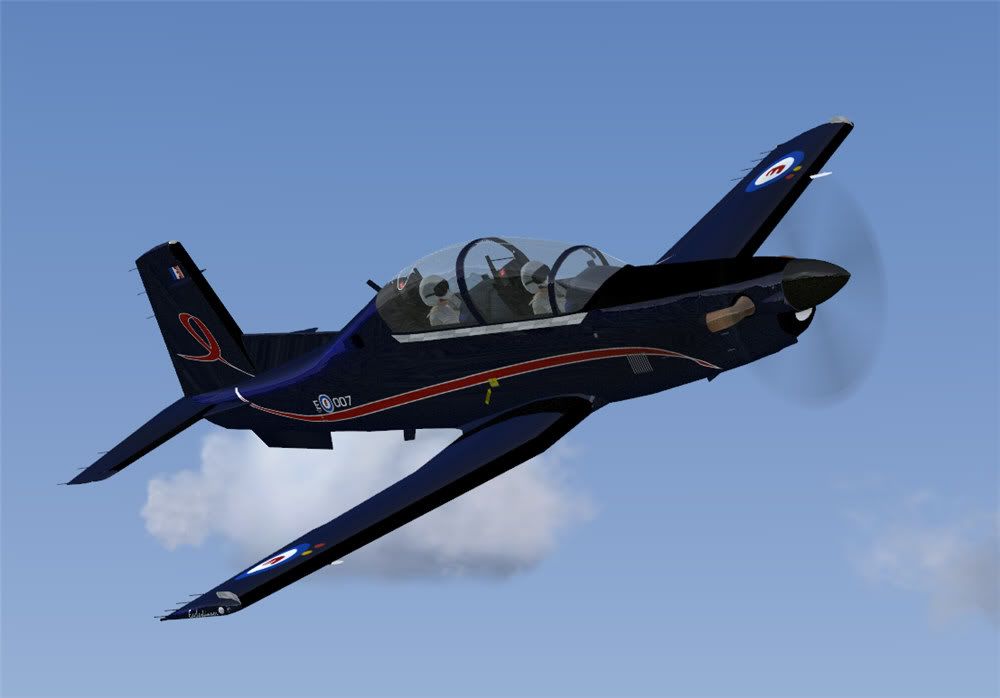
Ah... here we go... First of all a plain blue-black skin  Now add a bright blue specular with a neutral grey alpha  Or how about a purple base layer with a green spec?  The examples above are also demonstrations of how you can make the "Chromalusion" effect in FSX. That's a trade name owned by DuPont for paint that costs hundreds of dollars a gram. Well, it is expensive anyway - look at the optional extra price for multi-tone paint on your average Mercedes... Now if you tone it down just slightly, your almost black, high gloss paint will have just a touch of blueish sheen to reflect the sky...  |
|
|
|
Post by lifejogger on May 19, 2008 16:03:08 GMT -5
Thanks Chris (I think?  ) Now to start experimenting. |
|
|
|
Post by Chris B on May 19, 2008 16:14:44 GMT -5
If you have the Sukhoi Su26, I can send you PSD for the bumpmaps to play with
|
|
|
|
Post by lifejogger on May 19, 2008 17:05:58 GMT -5
If you have the Sukhoi Su26, I can send you PSD for the bumpmaps to play with Chris I just sent you a PM. |
|
|
|
Post by Tom Constantine on May 19, 2008 17:14:09 GMT -5
Thanks for everything Damian and best of luck!
Chris, remember rule #1: Have fun!!!! I haven't done any painting since FS2002 but I'll be reading as always.
|
|
|
|
Post by spad54 on Mar 2, 2009 16:51:46 GMT -5
Chris
being new to the FSX world of modeling, Please explain what the HSB function is PSP 7 would be and how to apply that to a bitmap. Thanks
|
|
|
|
Post by putput on Mar 2, 2009 23:56:11 GMT -5
Hi, again, I went from PSP 7 to PSP 12 about a year ago so I hope the menu's are the same.Instead of looking for HSB, (Hue, Saturation, Brightness) Go to Adjust>Hue and Saturation>Hue/Saturation/Lightness. You will see the same color wheel and adjustments as Chris mentioned above.
Cheers, Paul
|
|
|
|
Post by spad54 on Mar 3, 2009 6:46:35 GMT -5
Excellent. thanks again Paul!
|
|
|
|
Post by AirCoaster on Mar 3, 2009 9:39:54 GMT -5
You can use the keyboard shortcut for this SHIFT-H
|
|