Kevin
FS Addict
  
Posts: 110
|
Post by Kevin on Aug 31, 2005 18:30:41 GMT -5
I am SO totally not happy with the way this turned out. I made a cylinder and cut out the cockpit opening. After that, I made the frame around the glass portion then separated the part that fills in the fuselage. I know that one is going to have to change. At one point I had the trim going all the way around the windscreen, but it just looked like crap... Any suggestions? From this:  To this:    |
|
|
|
Post by Jakemaster on Aug 31, 2005 21:50:38 GMT -5
looks great kevin! So, are u gonna do a vc? ;D
|
|
Kevin
FS Addict
  
Posts: 110
|
Post by Kevin on Aug 31, 2005 23:20:31 GMT -5
Probably some kind, but don't get your hopes up too much. This is my first plane and I'm struggling to keep from trying to re-invent the wheel as it is... :-)
|
|
|
|
Post by Jakemaster on Sept 1, 2005 15:43:44 GMT -5
a simple vc that I can fly from is all I ask.
|
|
binka
FS Addict
  
Posts: 149
|
Post by binka on Sept 1, 2005 16:42:17 GMT -5
I think i would attack that bad boy with an -editable patch-
you would increase the polys and gain control of the edges with more accuracy.
always build in 1/2's and mirror to the other side. Its more accurate than 'eyeballing' it.
so think of half your window in terms of 4 verts, where are the 4 corners of the patch gonnal lay?
from the right view, it would be the lower right 90, and the lower left next to it at that sharp angle.
on top the other 2 verts will be on the center line at the front then back of the windscreen.
place a vert at each of these points on one half of the plane.
from the top view, with snap to vert on, draw an -editable patch- and snap all 4 corners to the verts you laid out in the views.
now select all the verts of your patch and use the green handles to bend the poly.
you can increase and decrease the # of poly's... this is my favorite way to model, it's fast and clean.
(if you want pics on how to do it, lemme know and i get some up for you 2nite.)
joe
|
|
binka
FS Addict
  
Posts: 149
|
Post by binka on Sept 1, 2005 16:45:15 GMT -5
ps.. I'll give you a vc for it, if you want..
its a baaaad ride.
joe
|
|
Kevin
FS Addict
  
Posts: 110
|
Post by Kevin on Sept 1, 2005 18:06:55 GMT -5
|
|
binka
FS Addict
  
Posts: 149
|
Post by binka on Sept 1, 2005 21:18:46 GMT -5
ok, i got ya... Looks like bool will work, but you can see it's drawbacks, loooots of clean up. I use it for smaller things like the lights on this 185 cowl. Used sparingly it's a good tool, but cant replace quality mesh. here's a pic of a patched cowl, this was only a few hours of work. 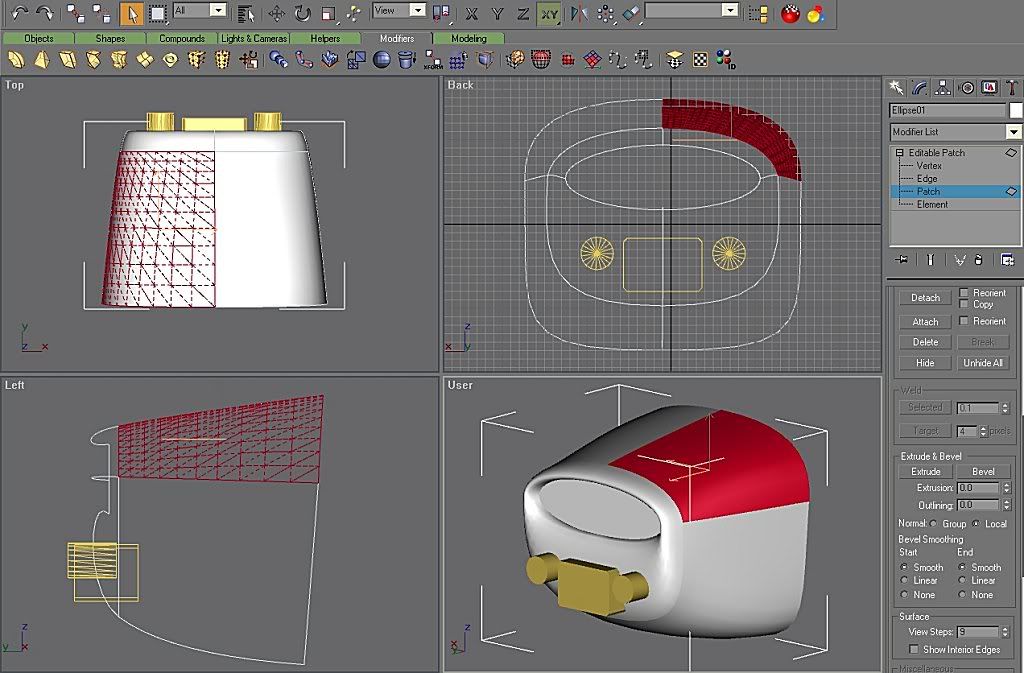 you can see the 4 vert patch. Selecting those few verts gives you access to the handles and you can really bully the mesh around. 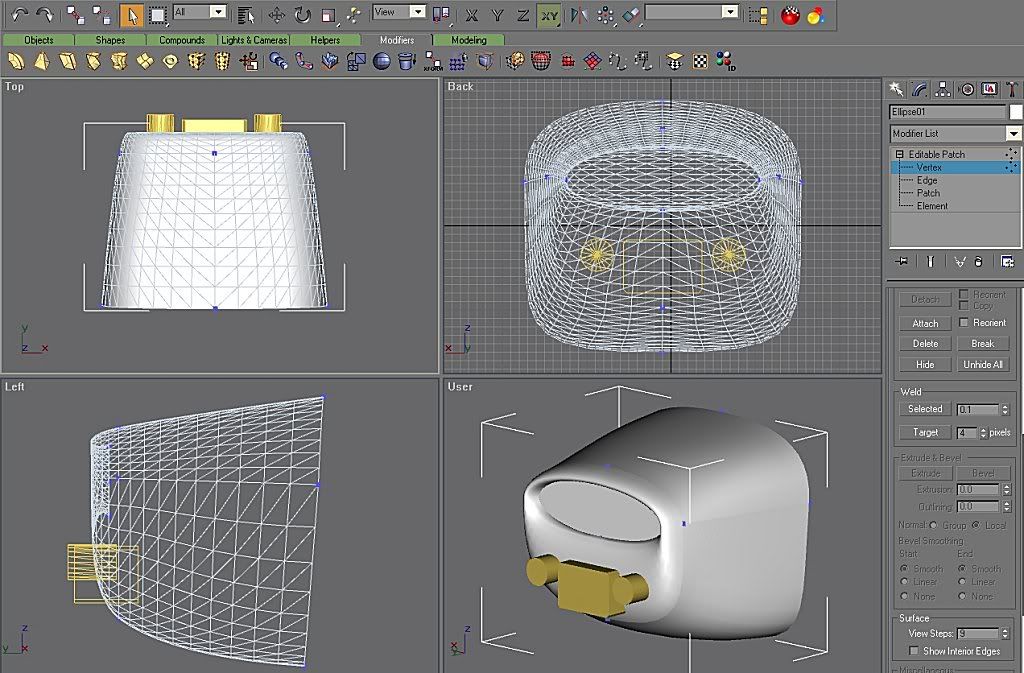 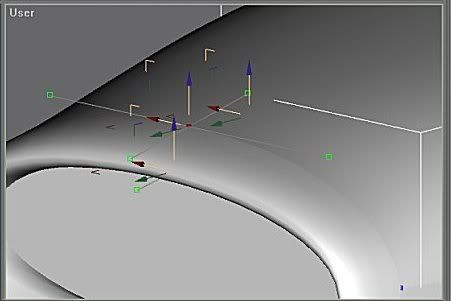 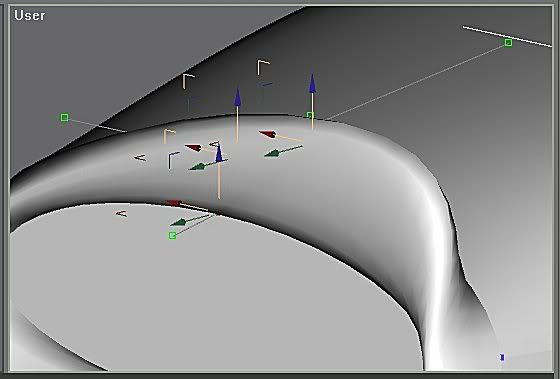 the best thing about a patch, is the control you have over the 'steps' in the mesh. 2 steps 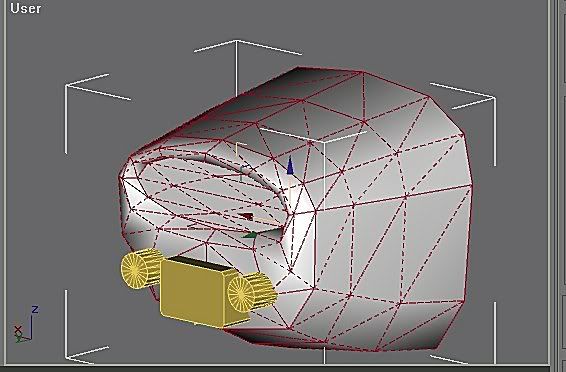 20 steps 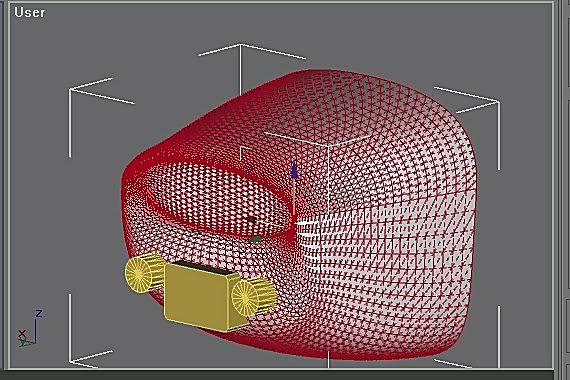 you see a lot of cars modeled this way, that's how i learned it, it applied to aircraft very well. keep up the good work, always looking for a kindred gmax spirit to gab with... joe |
|
Kevin
FS Addict
  
Posts: 110
|
Post by Kevin on Sept 1, 2005 22:55:07 GMT -5
That is so far over my head it's not even funny...  Could you explain that again using real small words? ;D |
|
binka
FS Addict
  
Posts: 149
|
Post by binka on Sept 3, 2005 11:39:59 GMT -5
no.. ;D  but i will try to explain better... lets start with something basic. The cowl. 1. in the front view draw a spline circle to match the inside of the cowl opening. 2. you then convert it to an editable spline3. select spline sub-object and select the entire circle you drew. it should turn red. 4. right/left view hold down shift and drag the spline circle backwards a few inches. this will create a 2nd circle. 5. you need to scale the cirlce up so it will match the 3view 6. drag the 2nd circle to the rear of the cowl (spline sub-object must still be selected, if not, it wont work) 7. now you should have 3 circles that match your drawing in all views. You should have 1 spline object not 3, if you have 3 objects, you didnt select spline sub-object. 8. now you must click on modifiers up top. in that menu select patch/spline editing then cross section. This will build a cage around your 3 circles. 9. now you must click on modifiers up top. in that menu select patch/spline editing then surface. This will build a skin over your cage. 10. now you can adjust to your preference the number of steps in the surface. can also be done later. 11. now convert the cowl to an editable patch and in vertex mode, you will gain control of the handles. you're prolly thinking, this is too difficult a cylinder is easier, and you may be right, but this is accurate and in the long run MUCH easier to get good results. i hope this helps. (need pics?) joe ps.. you should right click on your gmax tool bars on top and make your "tab panel" visible.. this will make you a faster modeler. (I saw in your pic it's not visible) |
|
Kevin
FS Addict
  
Posts: 110
|
Post by Kevin on Sept 4, 2005 12:46:54 GMT -5
|
|
binka
FS Addict
  
Posts: 149
|
Post by binka on Sept 4, 2005 15:58:07 GMT -5
I can just about smell the frustration in this thread ;D I know, i have been there! By showing you some different processes, i was hoping to get you to realize... it's not a lack of skill or effort holding you back, but your approach. you have like 10 verts running across the top of the window, this wont cut it on a complex multi curve object like that window and frame. plus, the 3 view is wrong.. as most are. So if you were trying to get it to all line up in all views, you would assume you made a mistake somewhere. It's the top view that is not accurate. here's what i came up with in the last 1/2 hour. in all its over poly'd glory. (always work with more polys than you want in FS, easier to remove them than add them) 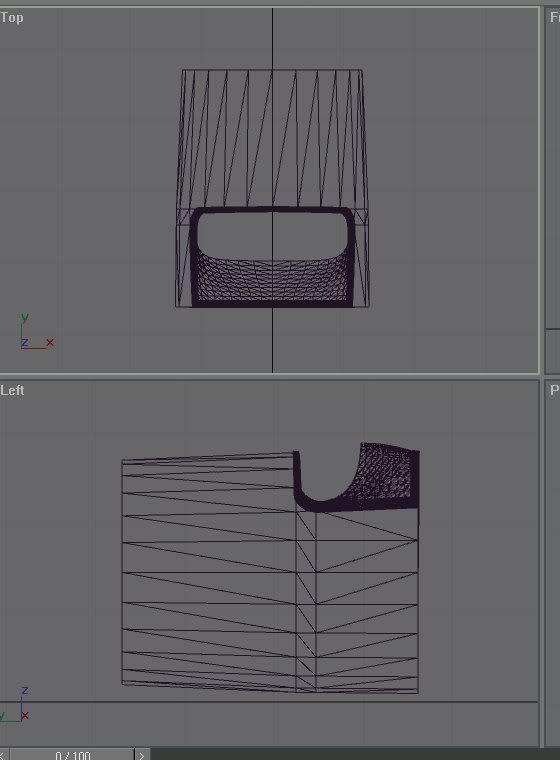 here's some more views. 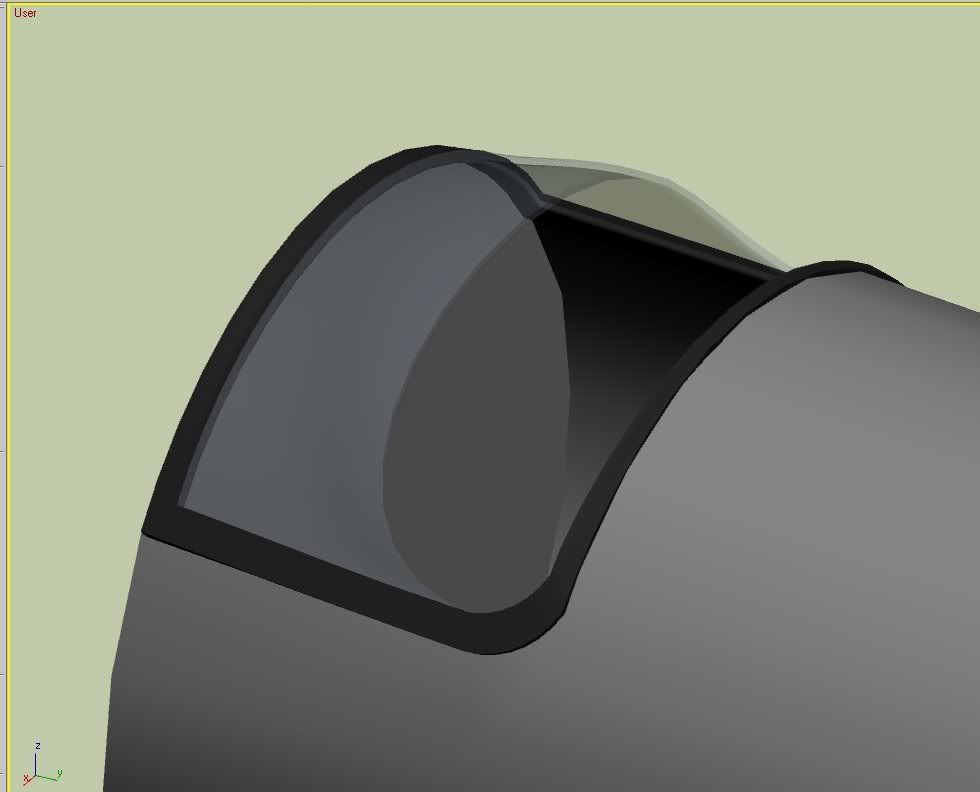 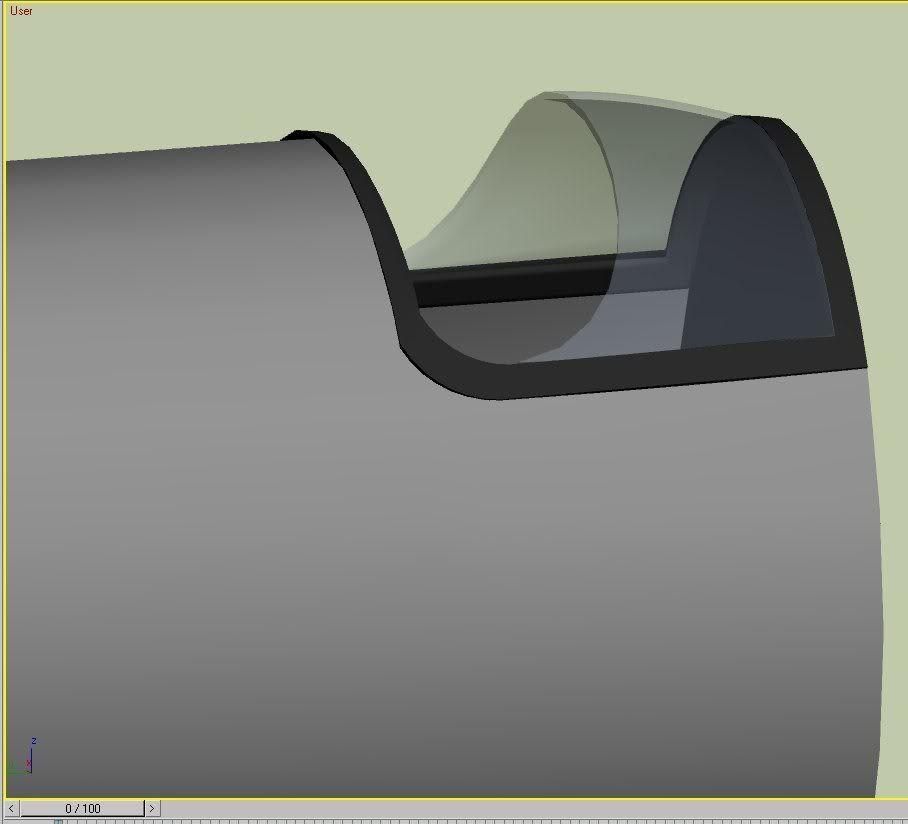 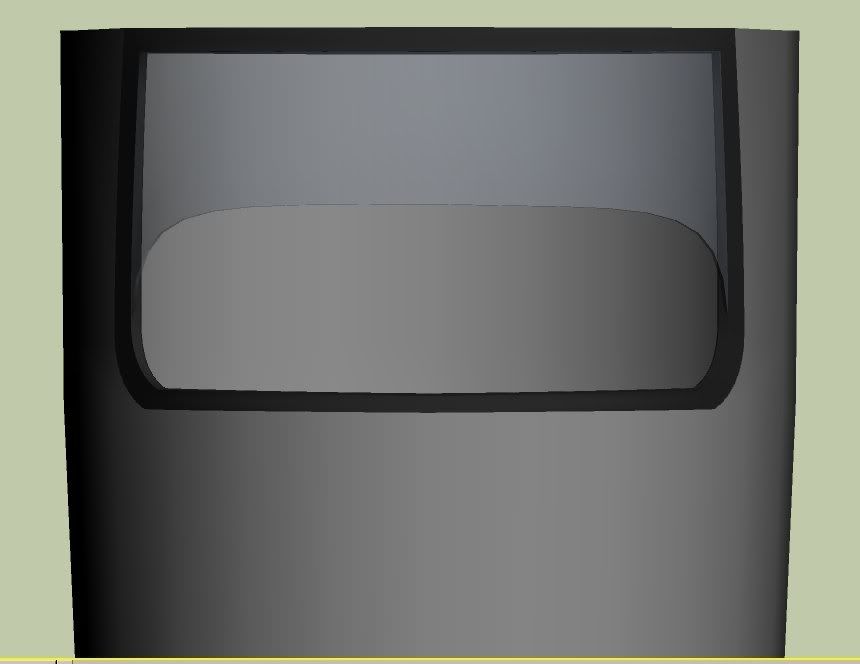 I never looked a pic of the real window, but it matches the drawings, for the most part. 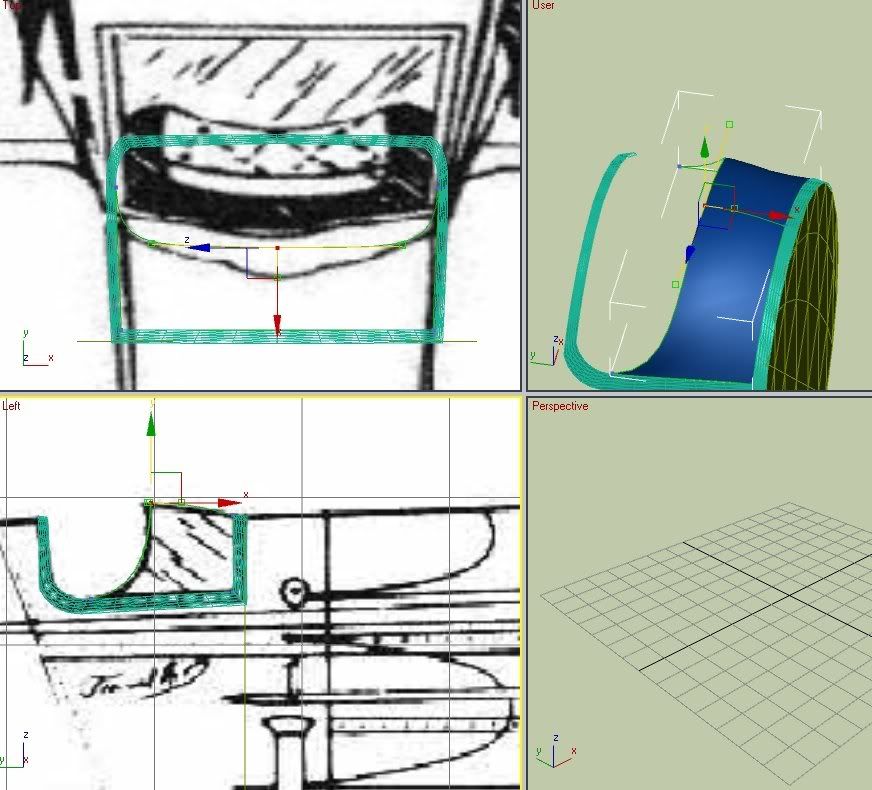 I started by drawing a spine on the outside edge of the frame. Then i moved the verts to match all 3 views. Then i scaled a clone of the spline in to match the inside of the frame, again mathing all views. then i skinned it and extruded it, now making the window was easy with the frame done. For the window I created a quad patch and moved to verts to match all 3 views. then i mirrored the other half and that was it. this is the best approach i can think of for such a complex piece. Boxing and Booling will not get you a good result. email me if you want, joe |
|
|
|
Post by Jakemaster on Sept 4, 2005 19:42:13 GMT -5
wow binka, that is impressive! If you could combine that with kevins amazing model, we'd have quite a plane!
|
|
|
|
Post by Roger on Sept 5, 2005 10:07:57 GMT -5
Some fantastic instruction on modeling there Joe! Your posts in this thread represent, for me the spirit of mutual help that we want to cultivate in these forums.
Thanks,
Roger
|
|
Kevin
FS Addict
  
Posts: 110
|
Post by Kevin on Sept 5, 2005 12:08:25 GMT -5
Indeed; I am most impressed. The Force is strong in this one... ;D My problem here is inexperience. I'll e-mail a few basic questionsw if you don't mind...  |
|